Simply 3d Prints
Garmin R10 Rechargeable Alignment Stand STL – Laser & Leveling Base
Garmin R10 Rechargeable Alignment Stand STL – Laser & Leveling Base
Couldn't load pickup availability
✓ Ships from the Netherlands · ✓ Tracking included · ✓ Designed & made in-house
DIGITAL DOWNLOAD – NO PHYSICAL PRODUCT WILL BE SHIPPED
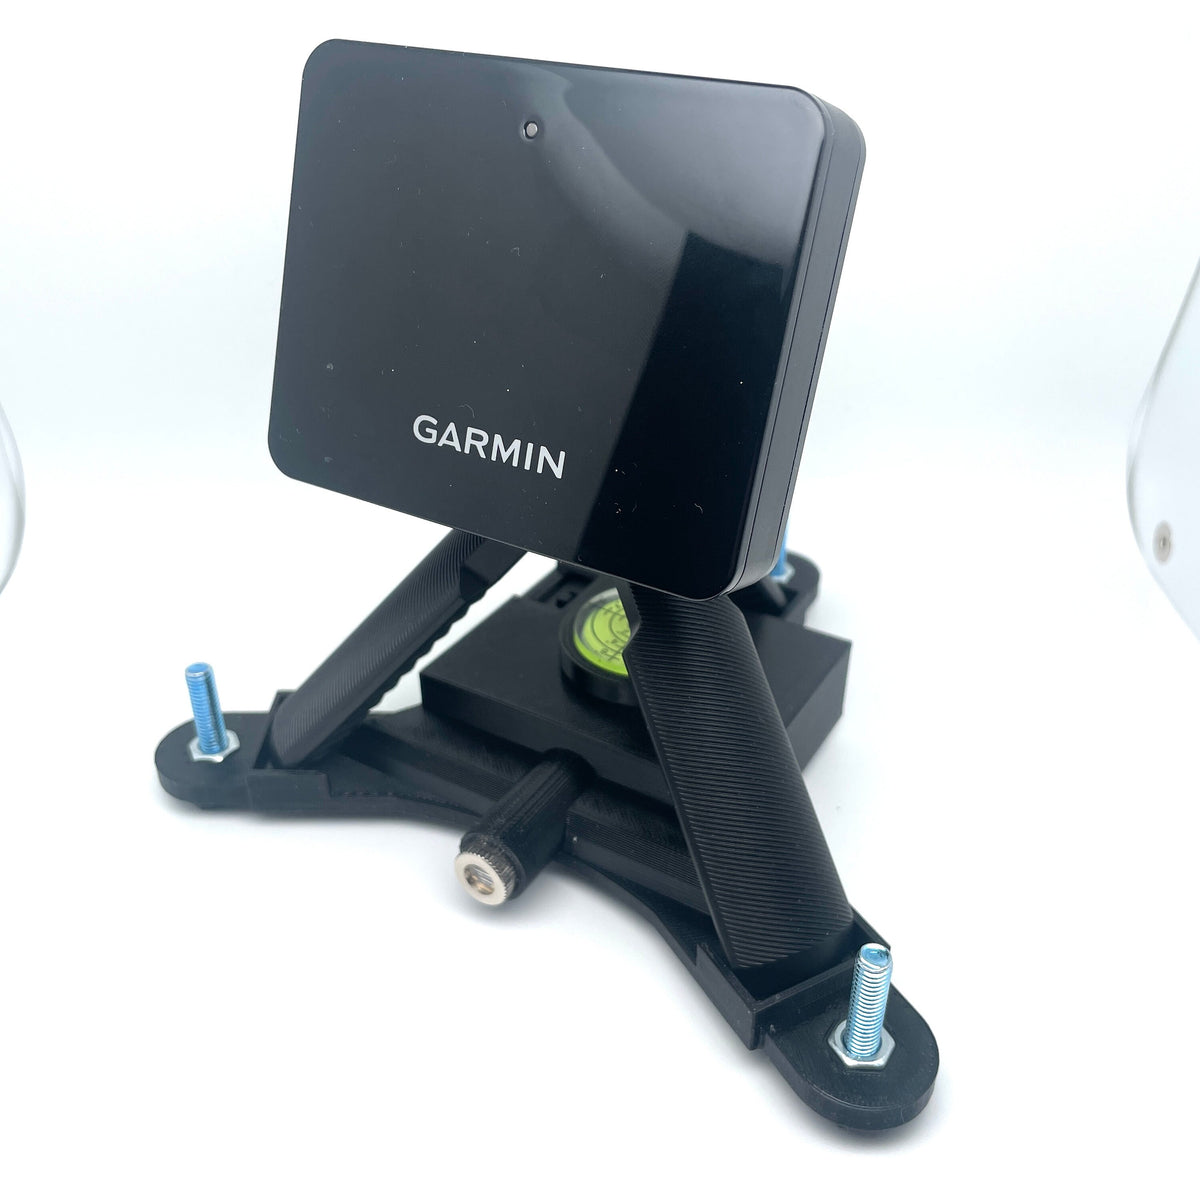
Print your own rechargeable laser alignment and leveling stand for the Garmin Approach R10.
This digital STL design creates a sturdy, adjustable base for your Garmin R10 and is designed to accommodate our rechargeable laser setup. It helps you level the launch monitor, match the height of your hitting surface and accurately align it with your target line.
This purchase includes the 3D-printable files only. The Garmin R10, rechargeable laser, battery, electronics, bubble level, adjustable feet and all other hardware are NOT included.
Product Details
Rechargeable laser alignment setup for your Garmin R10
Correct positioning, alignment and leveling are important for consistent readings from your Garmin Approach R10.
Once printed and assembled, this design makes it easy to:
- Align your Garmin R10 with your target line using a rechargeable laser
- Level the launch monitor using adjustable feet
- Match the height of your hitting surface
- Keep the R10 securely positioned on a sturdy base
- Quickly repeat the same setup whenever your simulator is used
The adjustable feet provide approximately 4 cm of height adjustment.
This version is specifically designed for our rechargeable laser configuration.
What's Included
Digital files included:
- STL file(s) required to 3D print the Garmin R10 rechargeable alignment and leveling stand
- PDF with information about the required hardware and electronic components
Not included:
- Garmin Approach R10
- Rechargeable laser
- Battery and electronics
- Bubble level
- Adjustable feet
- Screws or other hardware
- USB-C charging components
- Any physical 3D-printed parts
This is a digital product. Nothing will be physically shipped.
Please contact us if you need information about the additional components required to complete the stand.
How to Use
Printing & Assembly
- Download the STL file(s) after purchase.
- Import the files into your preferred slicer.
- Slice and print the components using settings suitable for your printer and material.
- Install the required adjustable feet and bubble level.
- Install the rechargeable laser components according to the design.
- Check that all components are fitted securely before use.
Garmin R10 Setup
- Position the completed stand 6–8 ft (1.8–2.4 m) behind the ball, following Garmin's recommended setup distance.
- Use the adjustable feet to match the height of the R10 with your hitting surface.
- Use the bubble level to level the stand.
- Turn on the laser and align it through the ball with your intended target line.
- Place the Garmin Approach R10 securely on the stand.
- Once alignment is complete, the laser can be switched off.
Indoor setup: Garmin recommends at least 8 ft (2.4 m) of ball flight between the ball and impact screen or net.
Always follow Garmin's current setup recommendations for the Approach R10.
Materials & Production
3D Printing Information
These files are designed for FDM 3D printing.
PLA+ is suitable for normal indoor use. PETG can be used if increased heat resistance is required.
Final print quality, strength and dimensional accuracy depend on your printer, material, slicer settings and calibration.
Some post-processing or minor fit adjustment may be required depending on your printer.
Additional hardware and electronic components are required to complete the rechargeable alignment stand. Please contact us if you need information about the components required for assembly.
License
Personal Use License
This purchase is for personal use only.
The digital files, modified versions of the files, and physical products printed from these files may not be sold, redistributed, shared or used commercially.
Copyright remains with Simply 3D Prints.
Deel